Process for Writing Technical Posts
Recently I did a Lunch & Learn presentation for my coworkers about my technical writing process. I wasn't sure how it would go over. Not everyone at my office is technical, and even fewer enjoy writing blog posts like I do.
I was pleasantly surprised to find out that not only was everyone engaged, they thought it was one of the more interesting topics we covered. I thought it would be good to share what I presented as a post.
What I plan to cover is:
$1
$1
In my presentation I also covered leveraging AI to do a lot of the blog post writing process for you. I will cover that in a separate article.
I will include the presentation slides throughout the post.
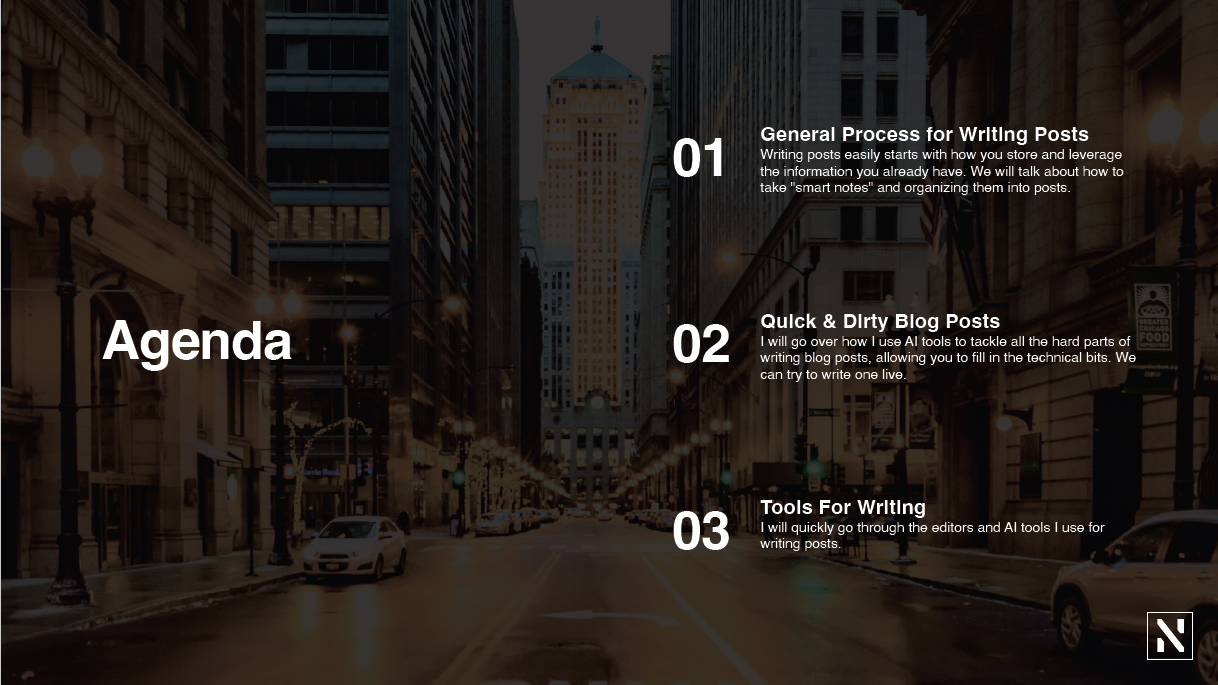
General process for writing posts
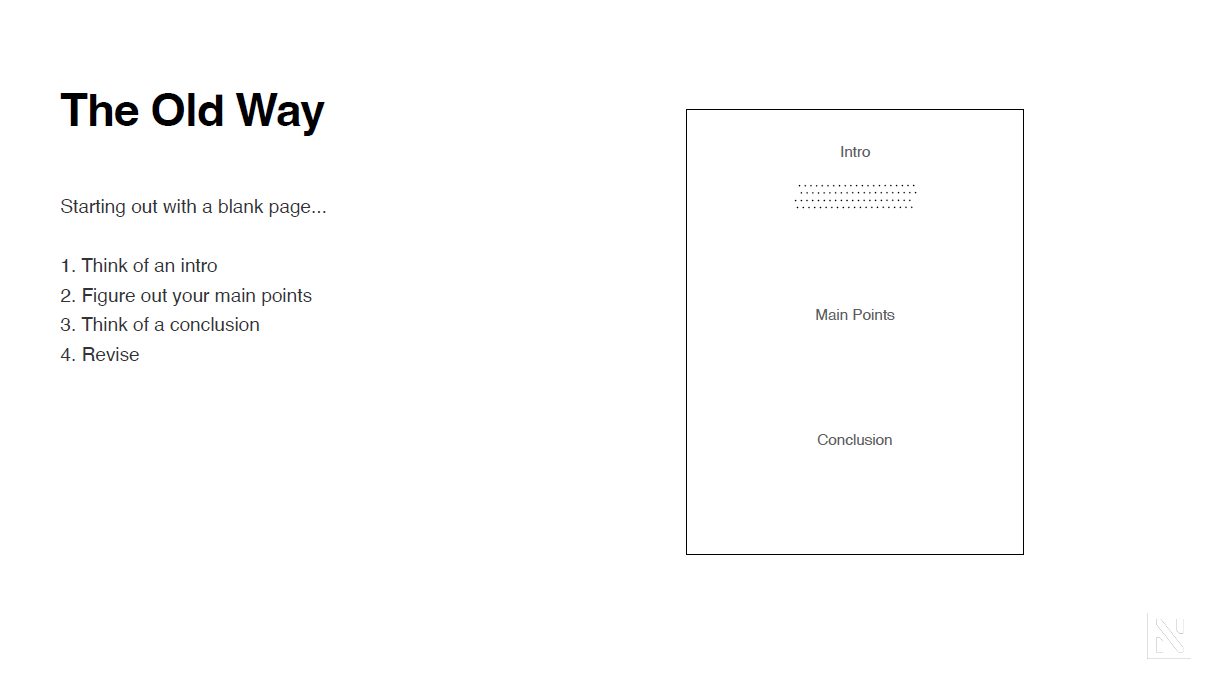
If you have tried writing before, you take the same approach you did to writing papers in school. You start with a blank page. Then you go top down, trying to think of an intro, figuring out your main points, etc.
If this sounds familiar, you know how discouraging this is. It's very easy to get stuck. You may end up giving up on your post because you weren't able to overcome the "blank page".
This is the old way of approaching writing.
Writing starts with how you store and leverage the information you already have.
For most of us in the tech field, we consume a large amount of content daily. Whether it's a blog post, YouTube video, or StackOverflow issue. We are always coming across new content. The problem is we don't capture this information. We see it once and move on. But we may need it again in the future. Or we remember reading something on a topic, but don't remember enough to write about it.
The solution is to take notes on everything you consume. But not just regular notes. You need to take "Smart Notes".
Smart Notes
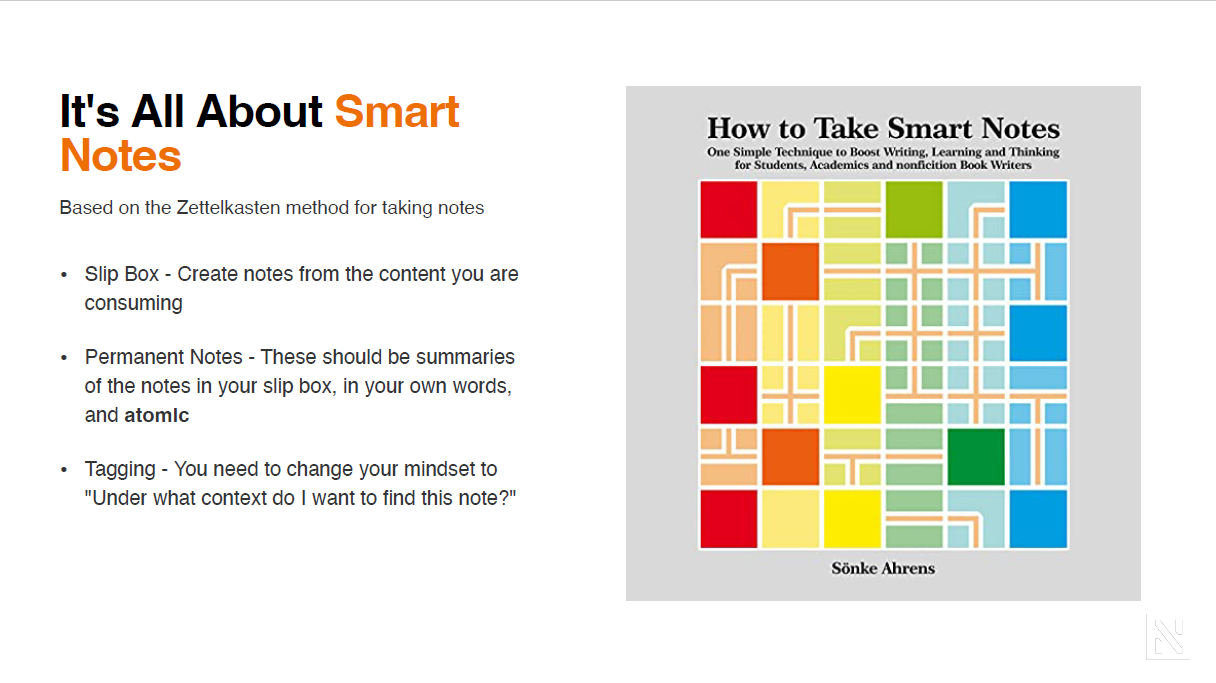
If you haven't heard of Smart Notes, it's a concept based on the Zettelkasten method of taking notes. This style of notes is credited to Niklas Luhman who is said to have invented the method.
There is a lot of information out there about smart notes and the Zettelkasten method. I won't dive in too deep here. I would recommend checking out the book "How to Take Smart Notes" by Sonke Ahrens. Also, a quick YouTube search will get you lots of information.
The basic concept is this. First you create a "slip box". This is a place to intake information from the content you consume. This can be direct quotes, quotes from a YouTube video, direct copy and pastes from blog posts. Make sure to also document a reference to the source material.
There is a second step of using this slip box to create "literature notes". This step is optional. The term comes from you making comments/notes about some text you have read in your slip box. I marked this as optional because moving on to step three can be done in a lot of contexts.
Step three is creating "permanent notes". These are atomic notes that are created off of what is captured in your slip box. It is important that these notes are atomic. This means they are stand-alone, and don't need the context of their source. These will be the building blocks of your future post.
Finally, it is important to tag your notes. This allows you to easily find your content, but also make important connections. The tags themselves should not be about the topic of the note. You should think about the context in which you would likely come across this idea in the future.
These tags will help us make connections between our permanent notes. They become the building blocks for our writing.
Smart Notes to blog posts
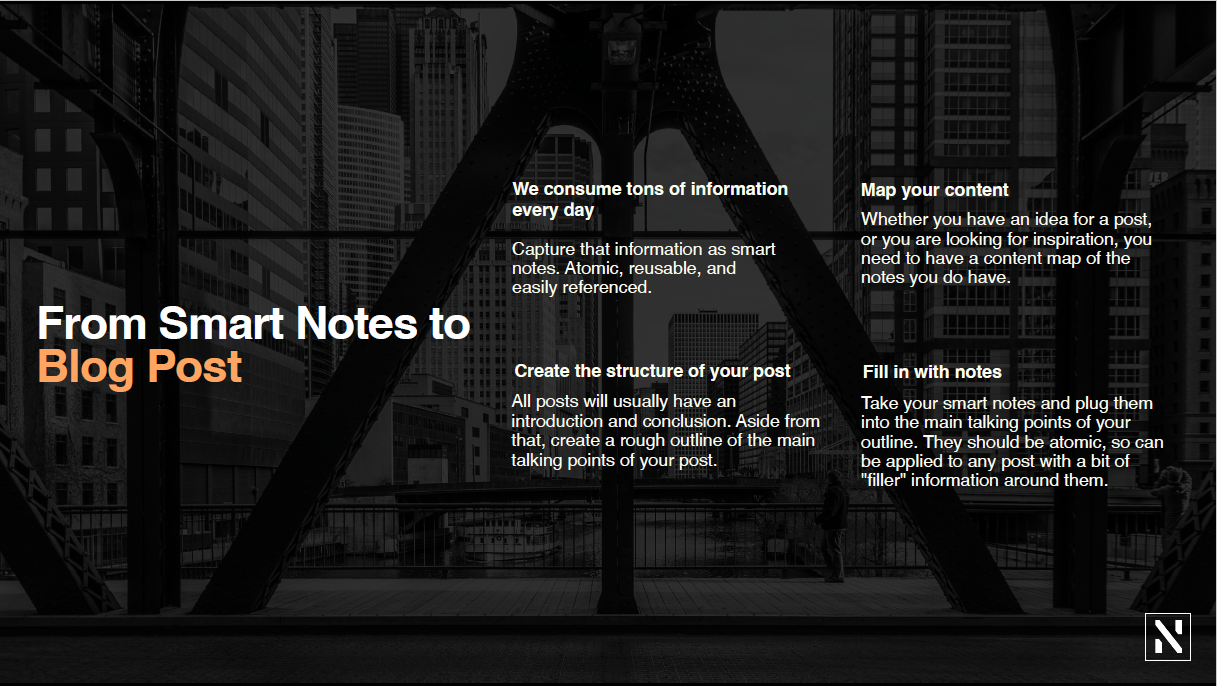
So now we have our smart notes. We captured information from different sources. We created permanent, atomic notes from that information. These notes are in your own words, and can stand alone without any context. We then tagged them so that we can easily search our notes based on some context or idea.
Next we need to map our content. Whether you have an idea for a blog post, you are looking for inspiration, you need to have a good content map. I will get in to how I create content maps in the writing tools section below.
Once you have your content map, you can start creating the structure of your post. All posts usually have an introduction and conclusion. Aside from that, create a rough outline of the main talking points of your post.
Once you have your outline, take your smart notes and plug them in to the relevant sections of your outline. Since they are atomic, so they can be applied to any post with a bit of "filler" information around them.
Tools
So we covered a lot. From capturing content, to creating notes, tagging, and writing, it can all seem like a lot.
The thing is it is a lot. But it's the work you do up front to avoid that "blank page" issue we discussed earlier.
Luckily, there are a lot of tools out there to make this whole process easier. I will go over a couple of them, and what I currently use.
Note taking tools
So based on our workflow, you need a note taking tool that can do the following:
$1
$1
$1
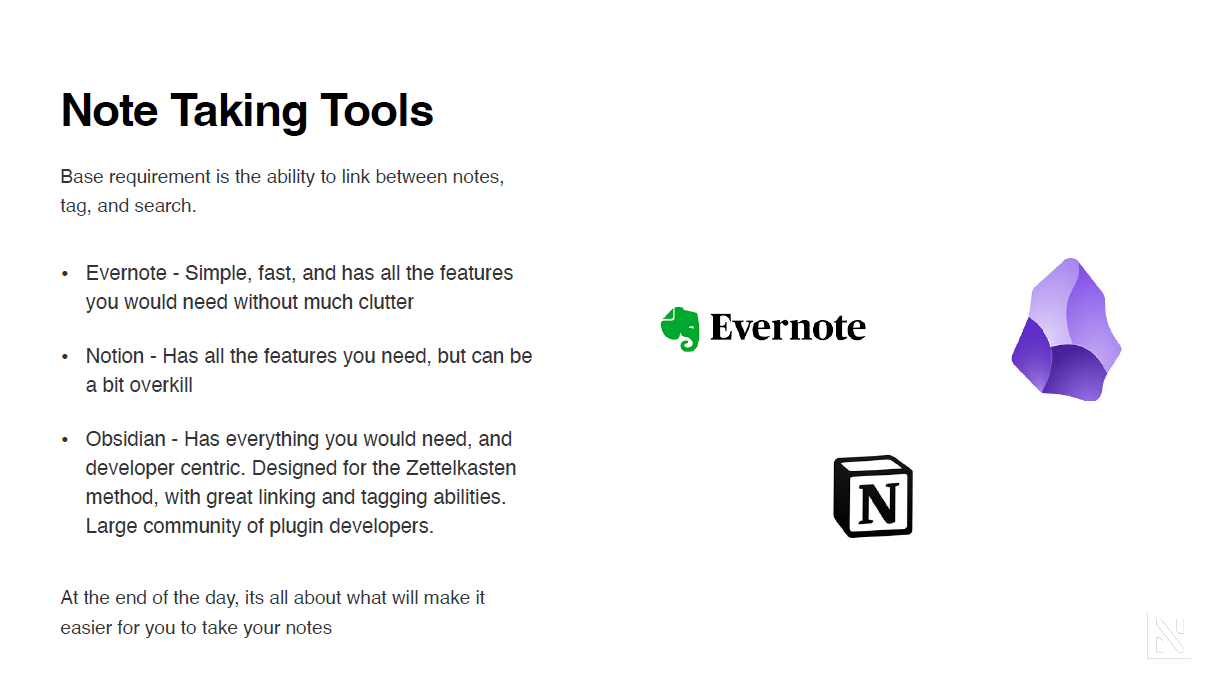
For leveraging the Zettelkasten method, Evernote, Notion, and Obsidian are the big players.
Evernote is simple, fast, and has all the features you need without much clutter.
Notion has everything you need as well. However, they have a lot of bells and whistles that can be a bit overkill.
My tool of choice is Obsidian. It has everything you would need, and is developer centric. It was designed for the Zettelkasten method, and has a large community.
While Obsidian is my app of choice, it's all about what will make it easier for you to take notes.
Capturing Content
While not a tool, I wanted to mention first off that manual capturing of notes is still an option. While it doesn't seem as efficient, having notes is better than not if one of these tools is not an option for you.
Readwise
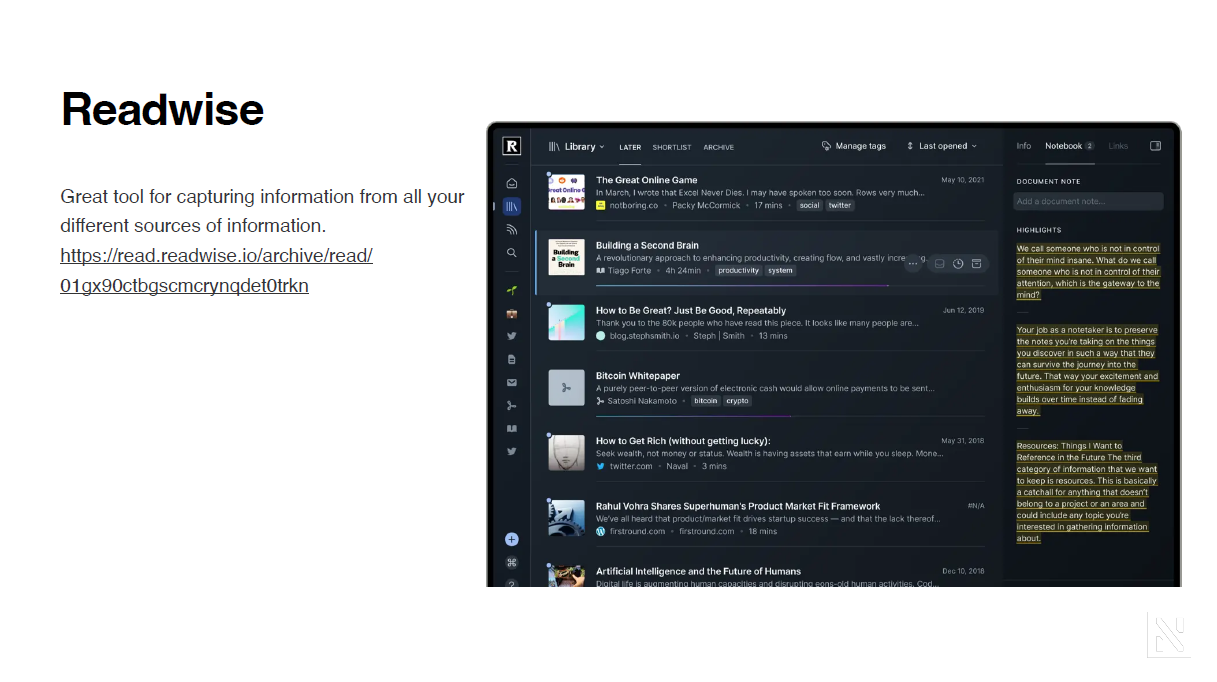
I am sure there are lots of great tools for capturing content. The first one I found I loved, and stuck with it. That is Readwise Reader.
Readwise Reader allows you to read web pages, PDFs, and view YouTube videos. You can highlight text, video transcripts, and annotate everything.
They even have a plugin that lets you import your highlights and annotations into Obsidian slip box. This makes your content consumption way easier.
Kindle Highlights
Another tool that I don't use as much, but is still great, is kindle highlights. I don't read kindle books very often, but being able to highlight while reading is great. They also have an Obsidian plugin which allows you to move those highlights to your slip box.
Writing
I have used several tools in the past to help me write.
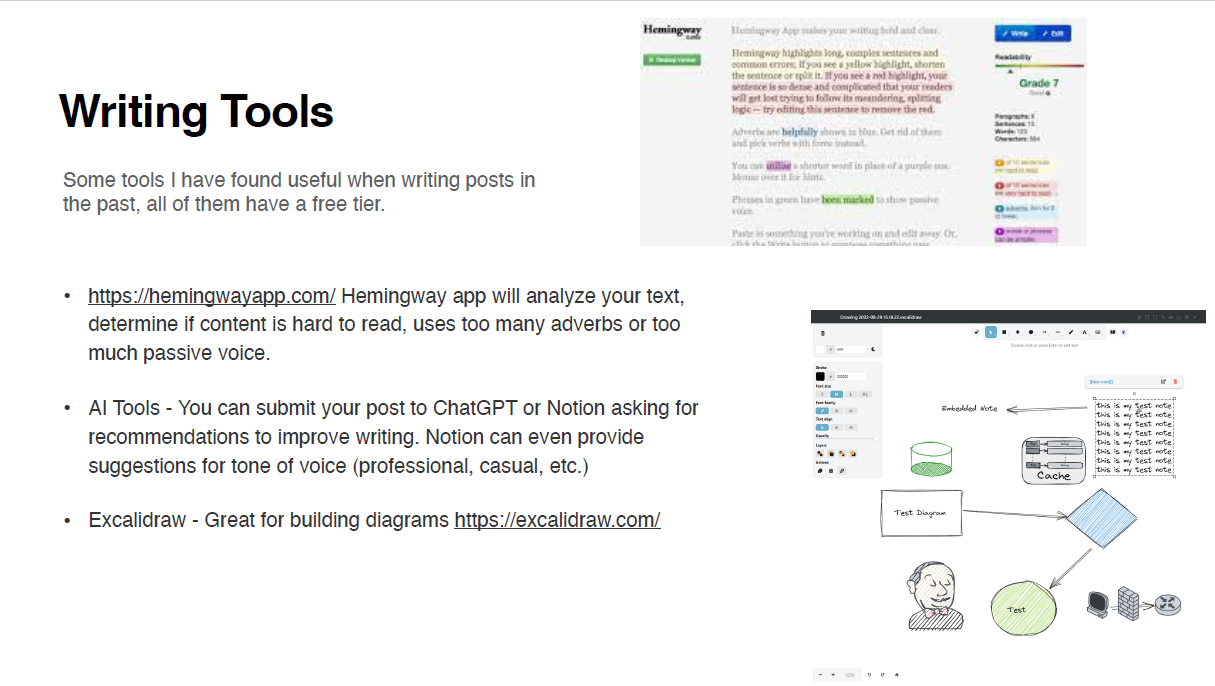
Hemingway app will determine if your writing is hard to read and other grammar checks. It is not uncommon in technical writing to have sentences that are too long and confusing. This has helped me find sentences that should be broken up for readability.
While not a specific tool, AI can be helpful when writing as well. There are lots of examples of people having AI write posts for them. I wouldn't advise this. But leveraging tools like ChatGPT for suggesting changes in tone can be helpful.
Finally, technical writing can sometimes require visualization. Excalidraw is a great tool for diagrams and workflows.
Excalidraw, and all of the other tools I have mentioned have a free tier.
Final Thoughts
This process has worked really well for me. And the more content I consume, capture, and tag, the easier the writing process will become.
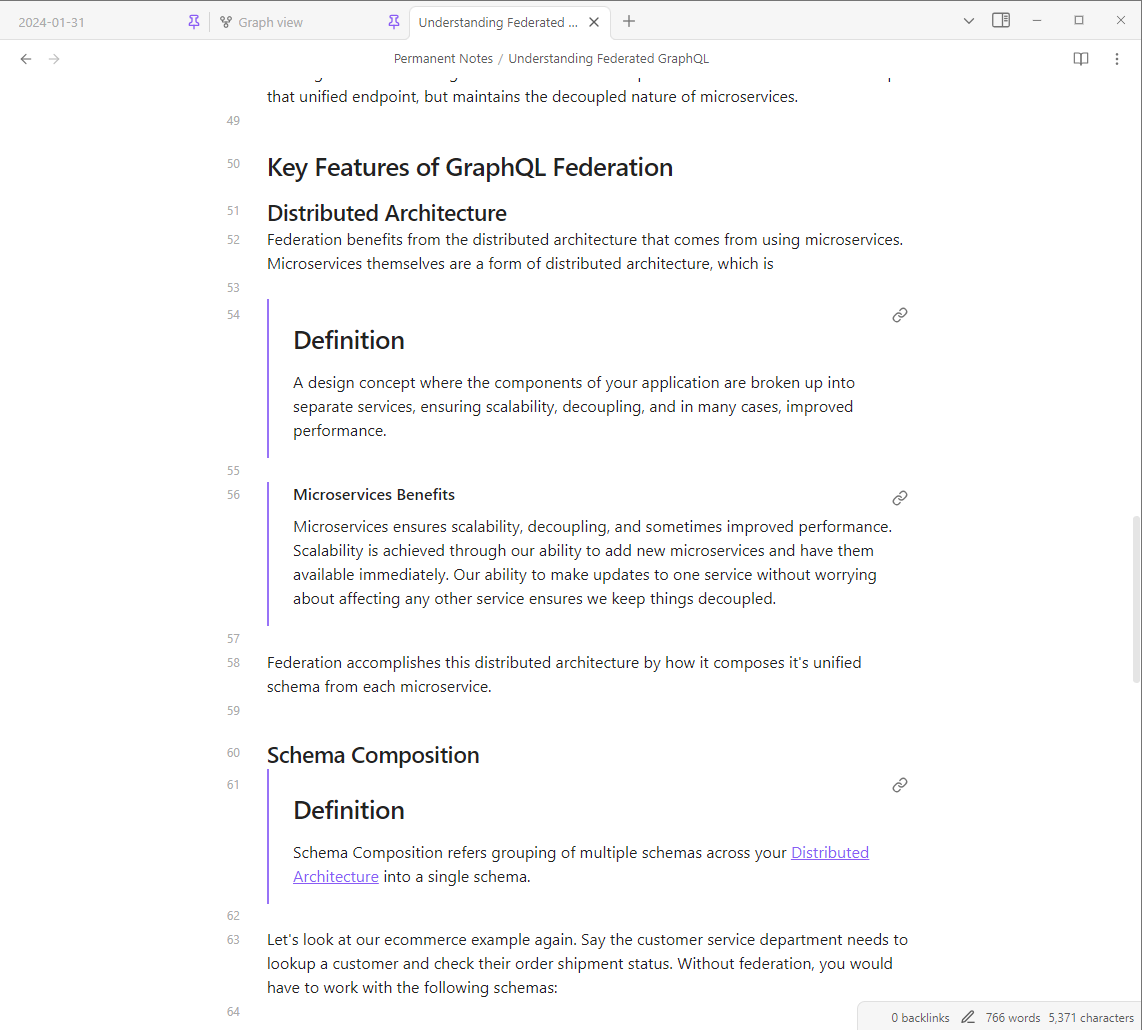
Recently I wrote a post for Contentful. I leveraged this process a lot. You can see here in Obsidian a quick example of how I was able to create an outline, and start filling in the main points with my own atomic notes.
One final note is that this process isn't immediate. You need to continually consume, capture, and tag. It is only once you reach a critical mass of notes that you can see how the might connect. Once you can see those connections, you can more easily see how you can bring them together in your writing.
I hope you found this helpful. If you have any questions about this process, or want to share any thoughts or suggestions, feel free to reach out!
If you found this post helpful, please share it!